
Guide: SMT PCB Fabrication

Overview
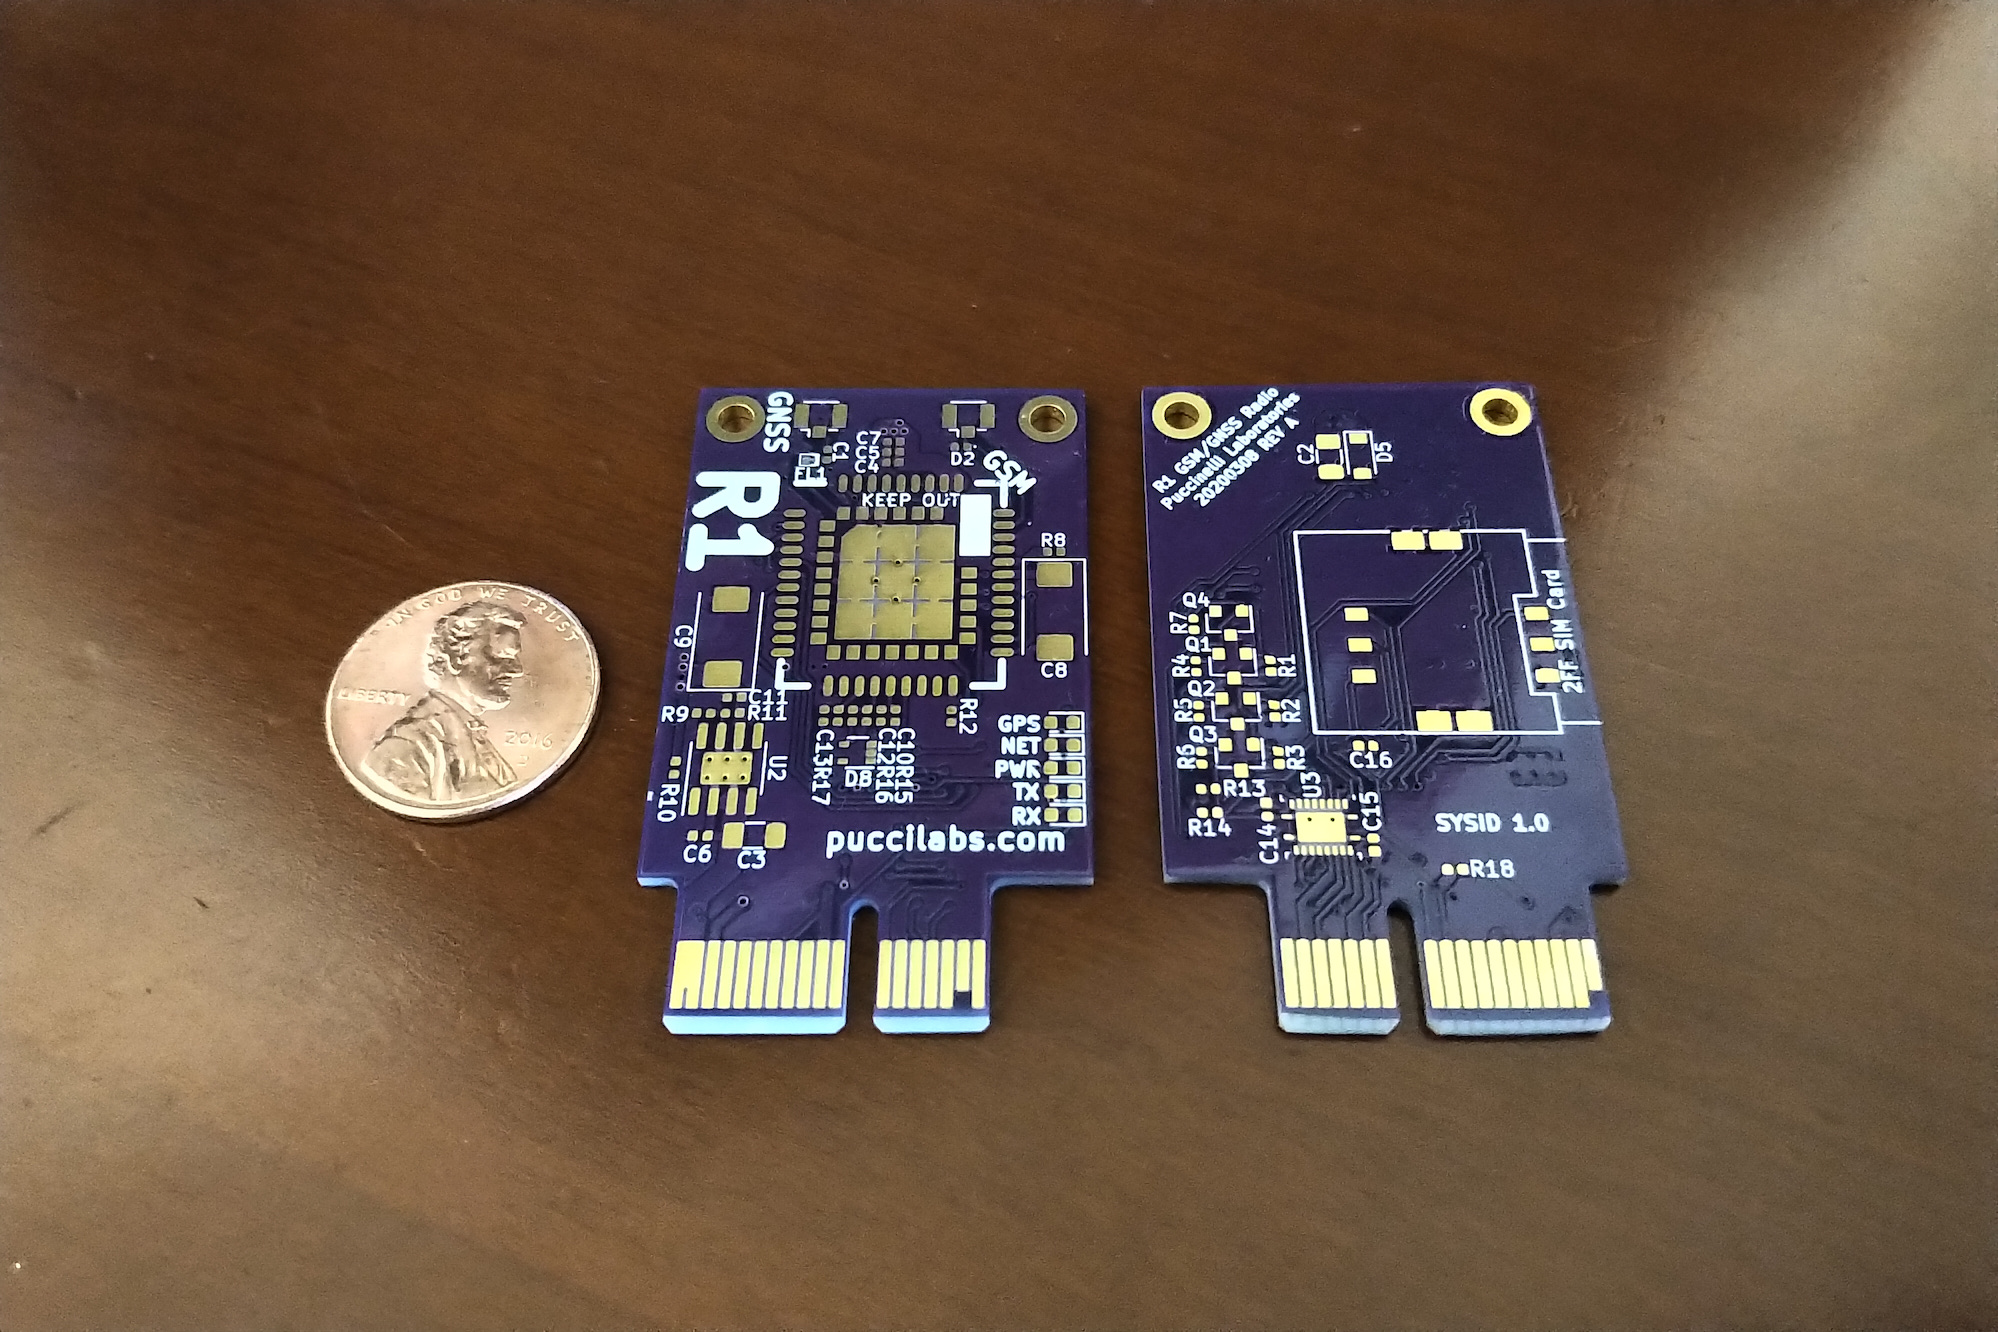
The objective of this guide is to demonstrate how to fabricate SMT PCBs. While through hole components can be soldered onto a PCB with relative ease with a soldering iron and good technique, surface mount components typically require the use of masks and a reflow oven. This is largely due to their small size, which makes them difficult to handle and solder. However, surface mount components can be advantageous for designs by making them more compact, improving circuit performance and lowering cost.
Solder paste masks can either be purchased from various vendors online, fabricated with a laser cutter, or cut one with a stencil cutter as described in the Silhouette guide. Similarly, commercial reflow ovens can be purchased or you can build one. I purchased a Controleo3 oven build kit from Whizoo and followed their instructions.
Materials Used
- Solder Paste Mask
- Solder Paste
- Flux Paste (Optional)
- Isopropanol (Optional)
- Putty Knife, Flexible
- Tweezers, ESD Safe
- Reflow Oven
- PCB & Components
Guide
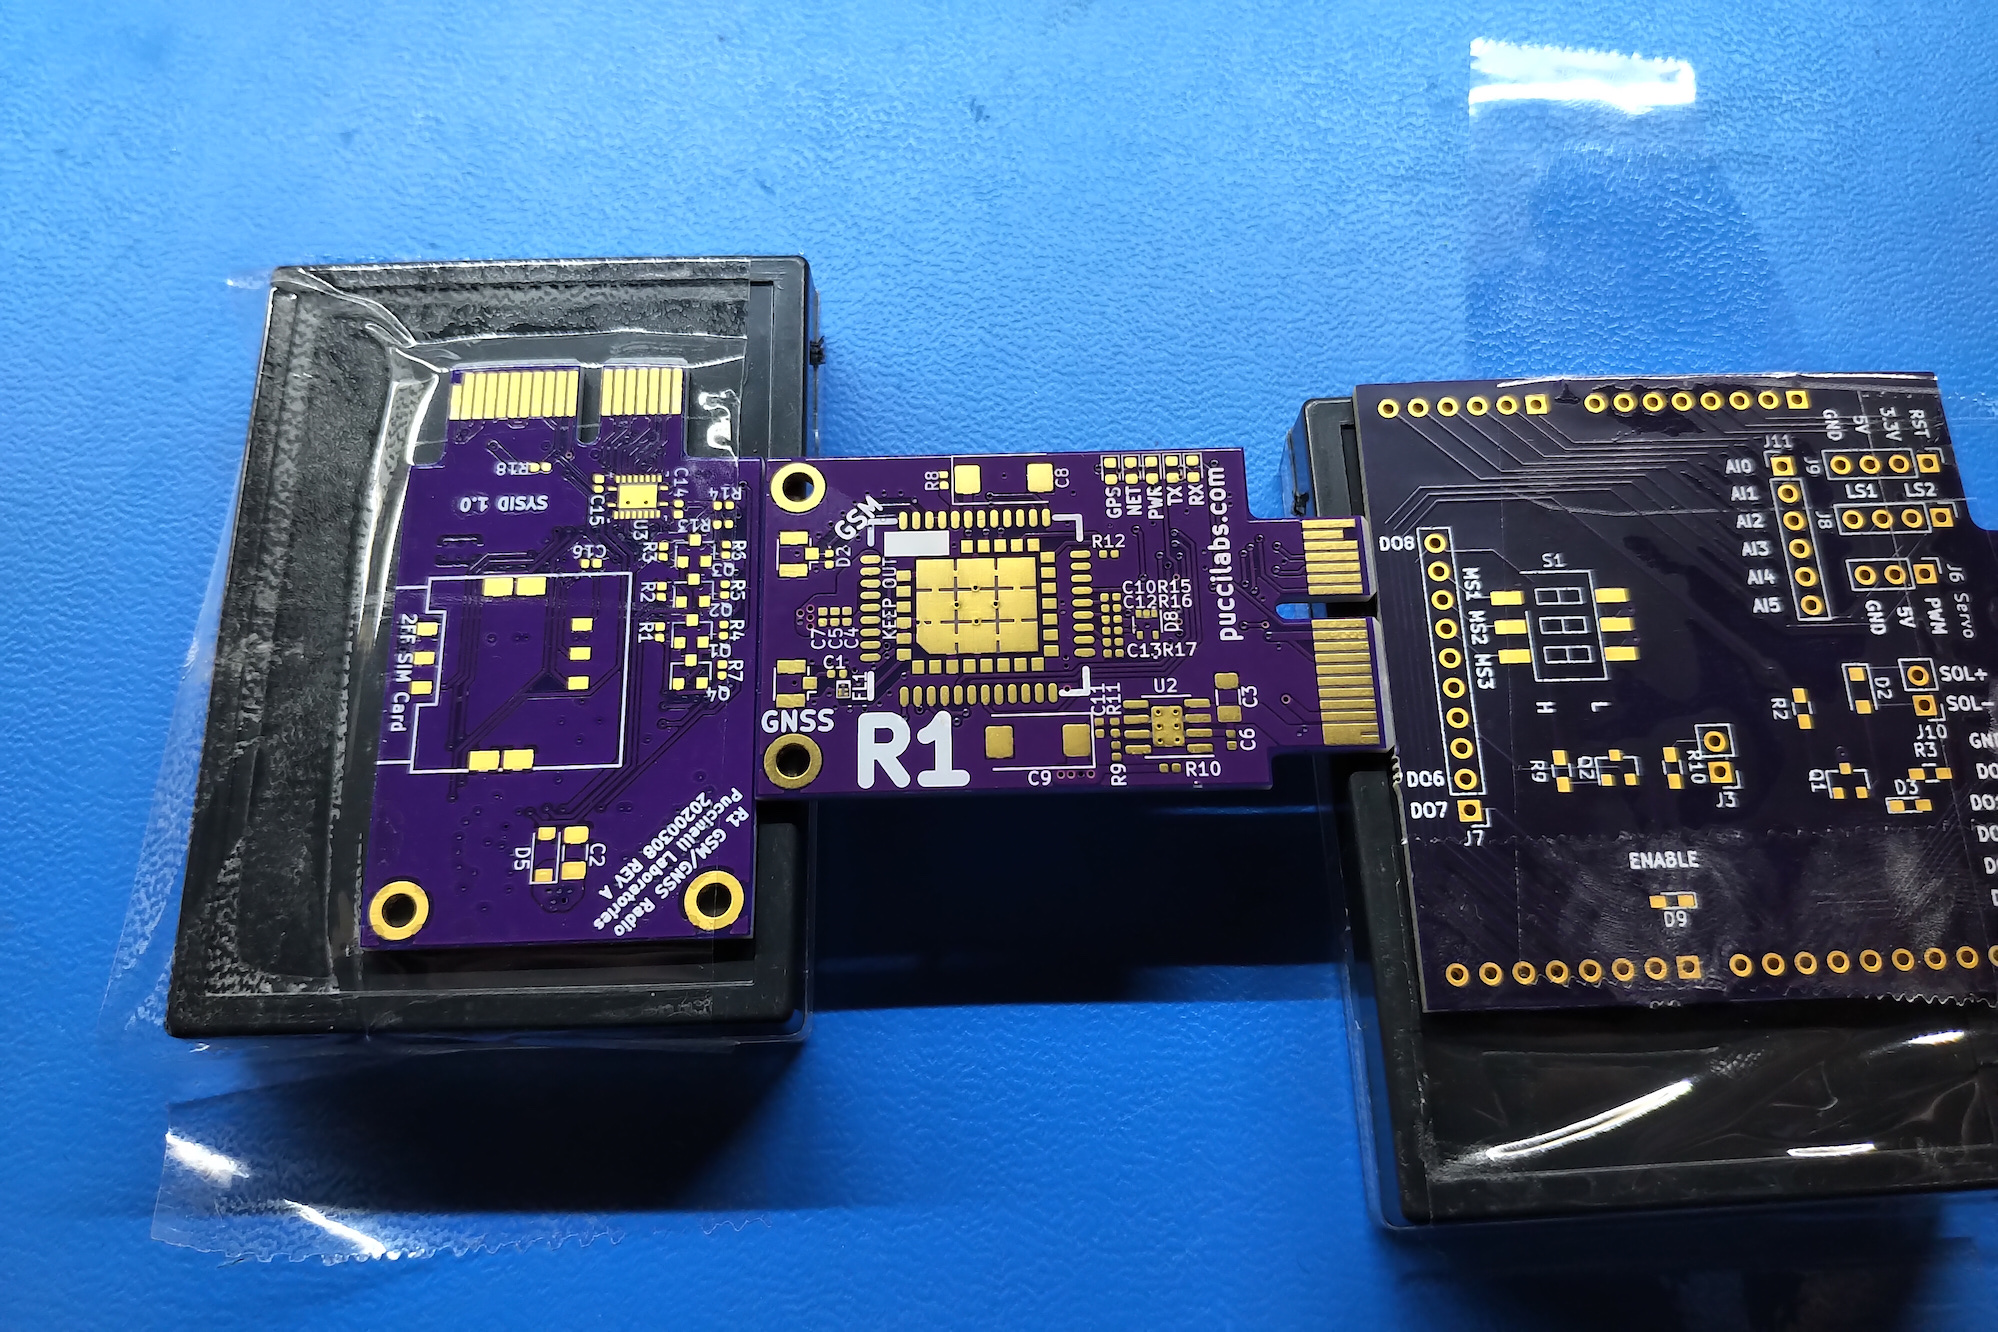 PCB Secured to Workspace.
- Secure the target PCB to the work area. I recommend taping down other PCBs with the same height to prevent the target from moving. When you tape down the mask in the next step, you want it to be completely flat across the surface. This means that you might need to use spacers if you have components already soldered to the other side of the target PCB.
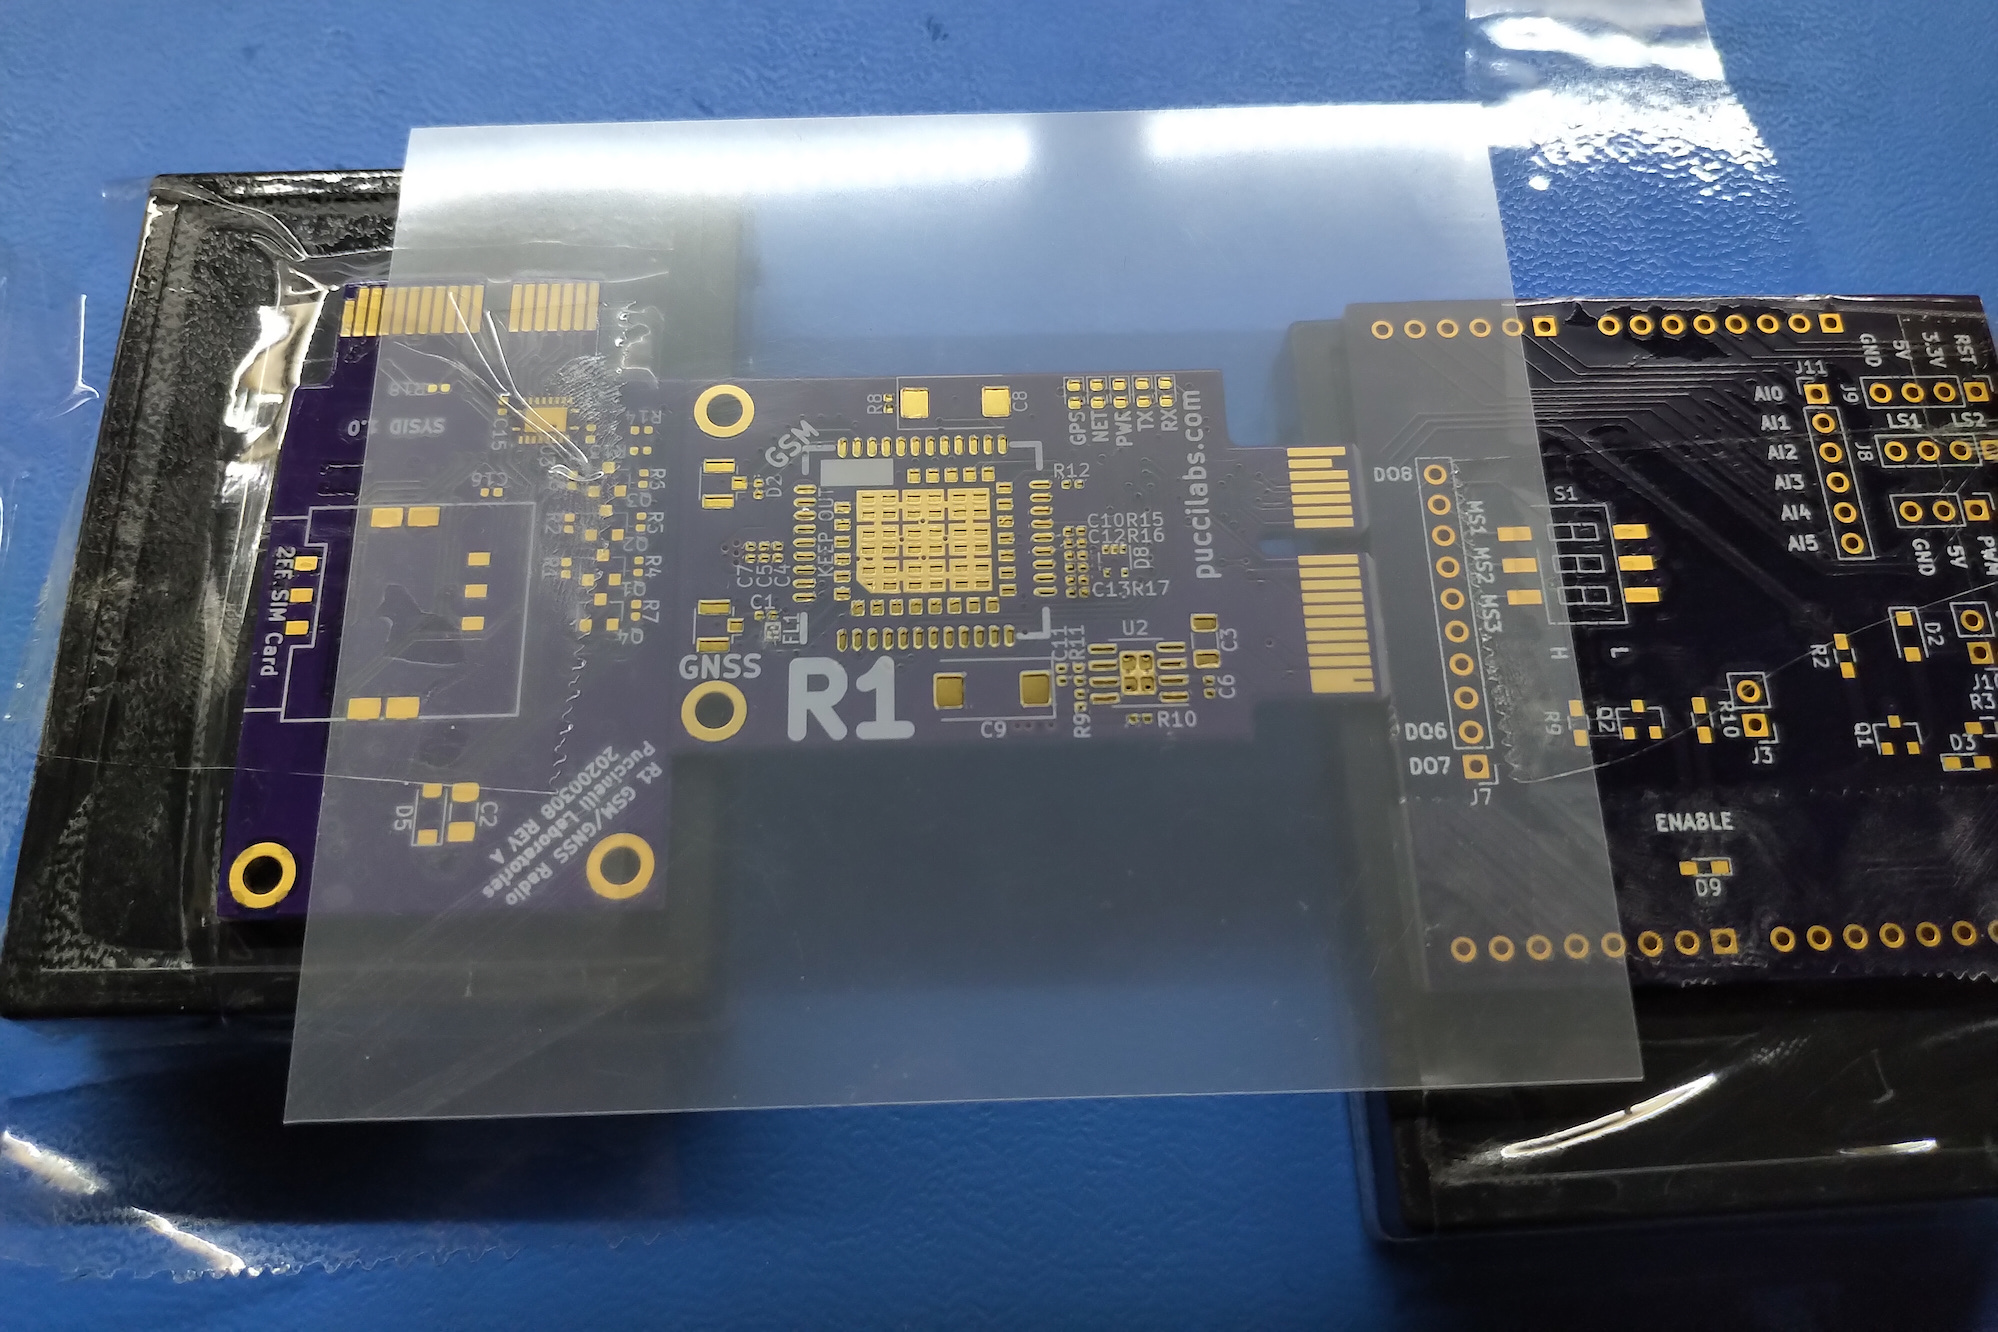 Stencil Aligned and Secured to PCB.
- Align the solder paste mask to the pads on the target PCB and tape it down. It is important that the mask is flat across the PCB so that solder paste does not go under the mask when spreading it.
- Apply paste near one side of each group of pads. While a little bit of paste can be spread across a long distance. It is usually fine to use more than you think you’ll need so that all pads are covered with paste in one pass.
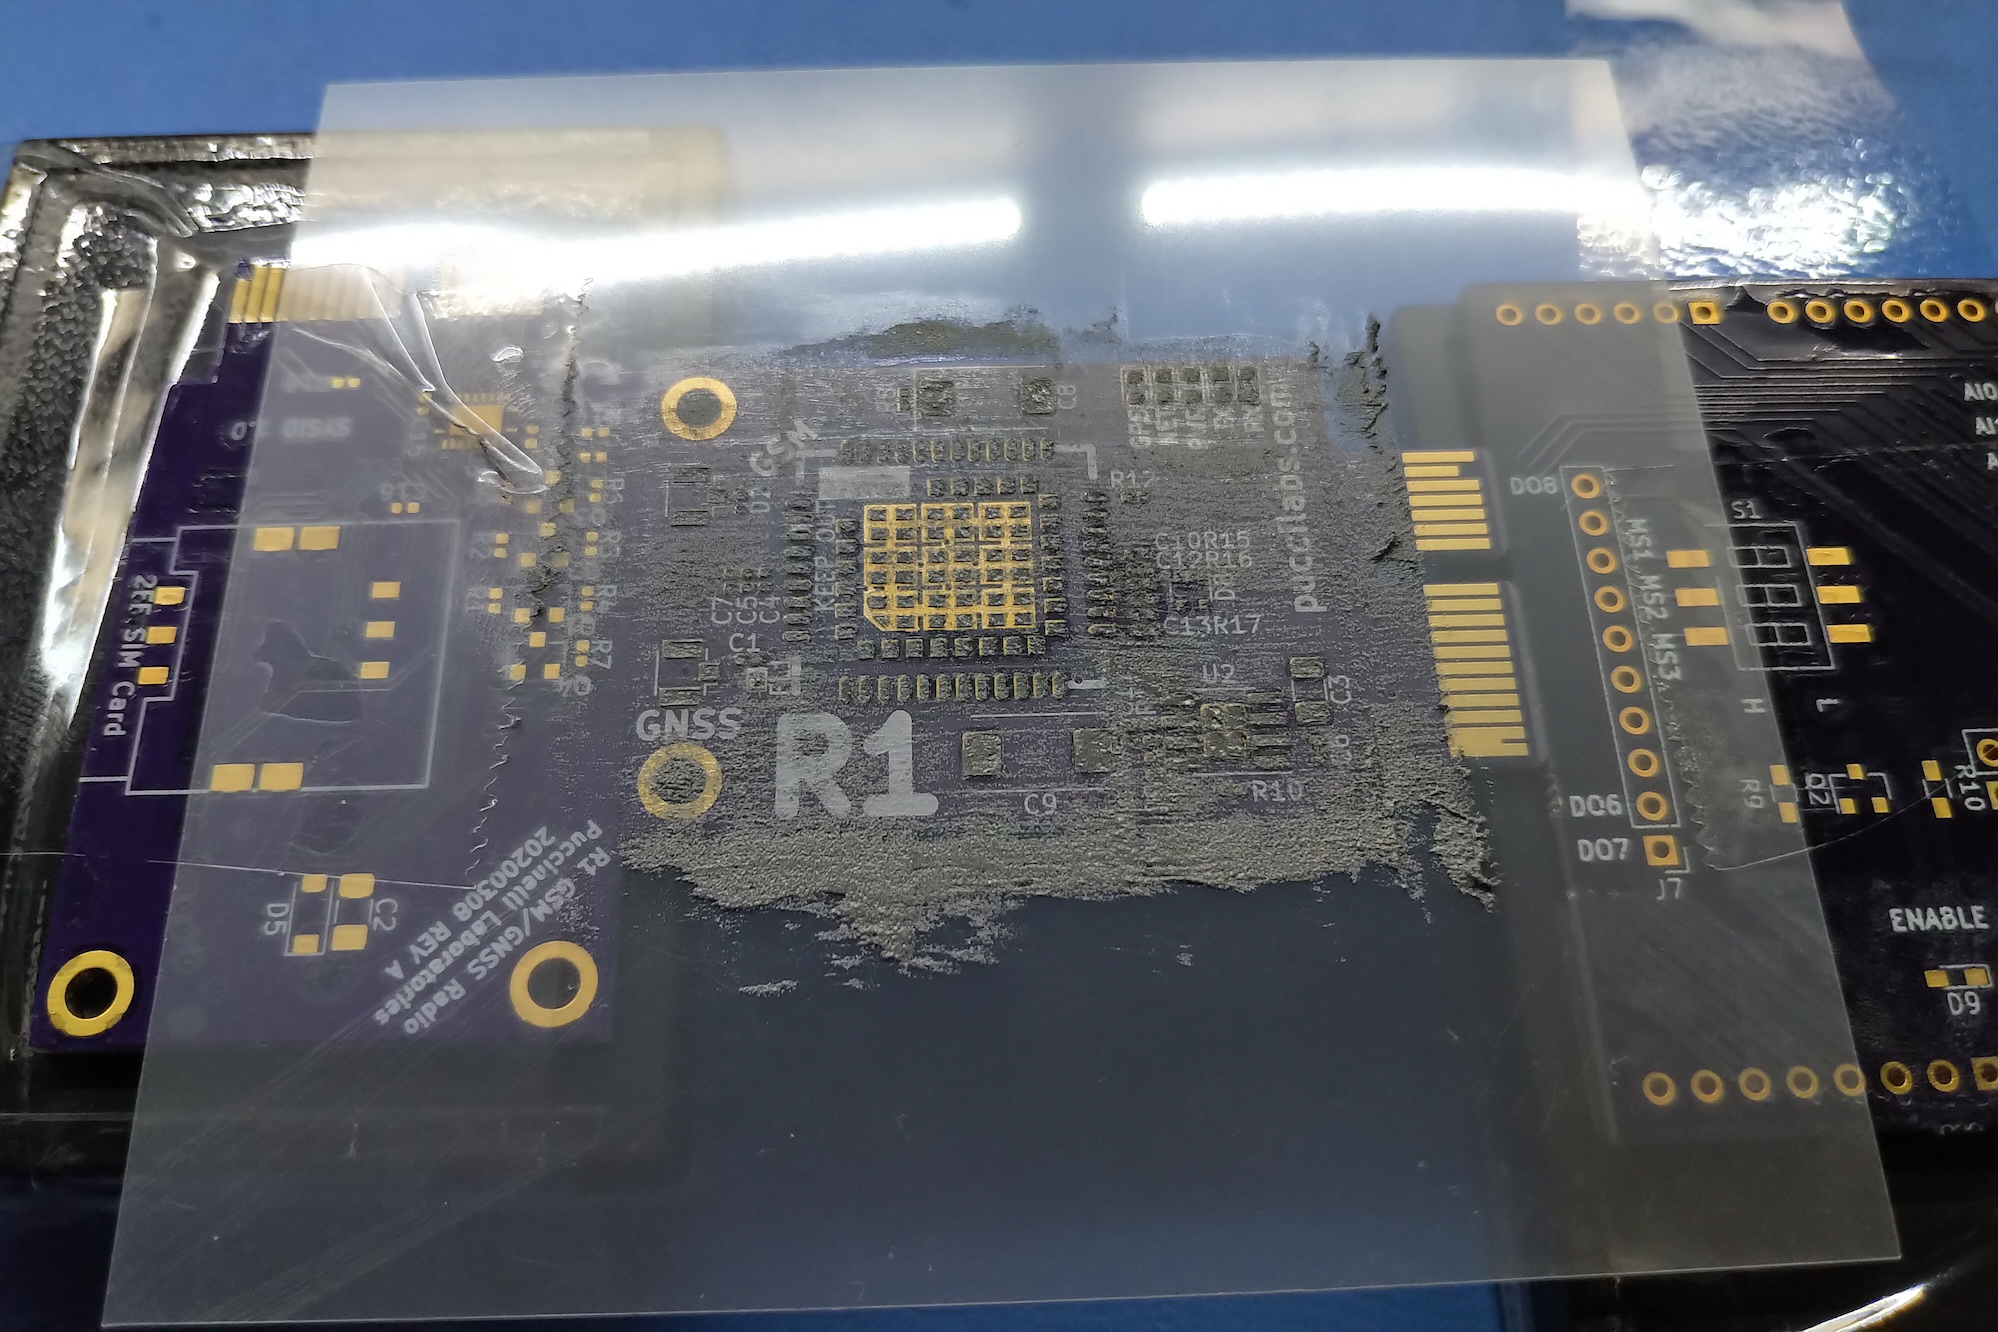 Solder Paste Spread Across Mask - Not the Cleanest, But Good Enough!
- Spread the solder paste across the mask with a flexible putty knife.
 Solder Paste on Pads.
- Carefully remove the mask by lifting one side. If another attempt needs to be made, I recommend cleaning the board and mask with isopropanol and repeating the steps above. If there are a few pads or an IC which looks like it could be problematic, solder flux can be deposited over those pads. The flux will help the paste reflow better and minimize shorts.
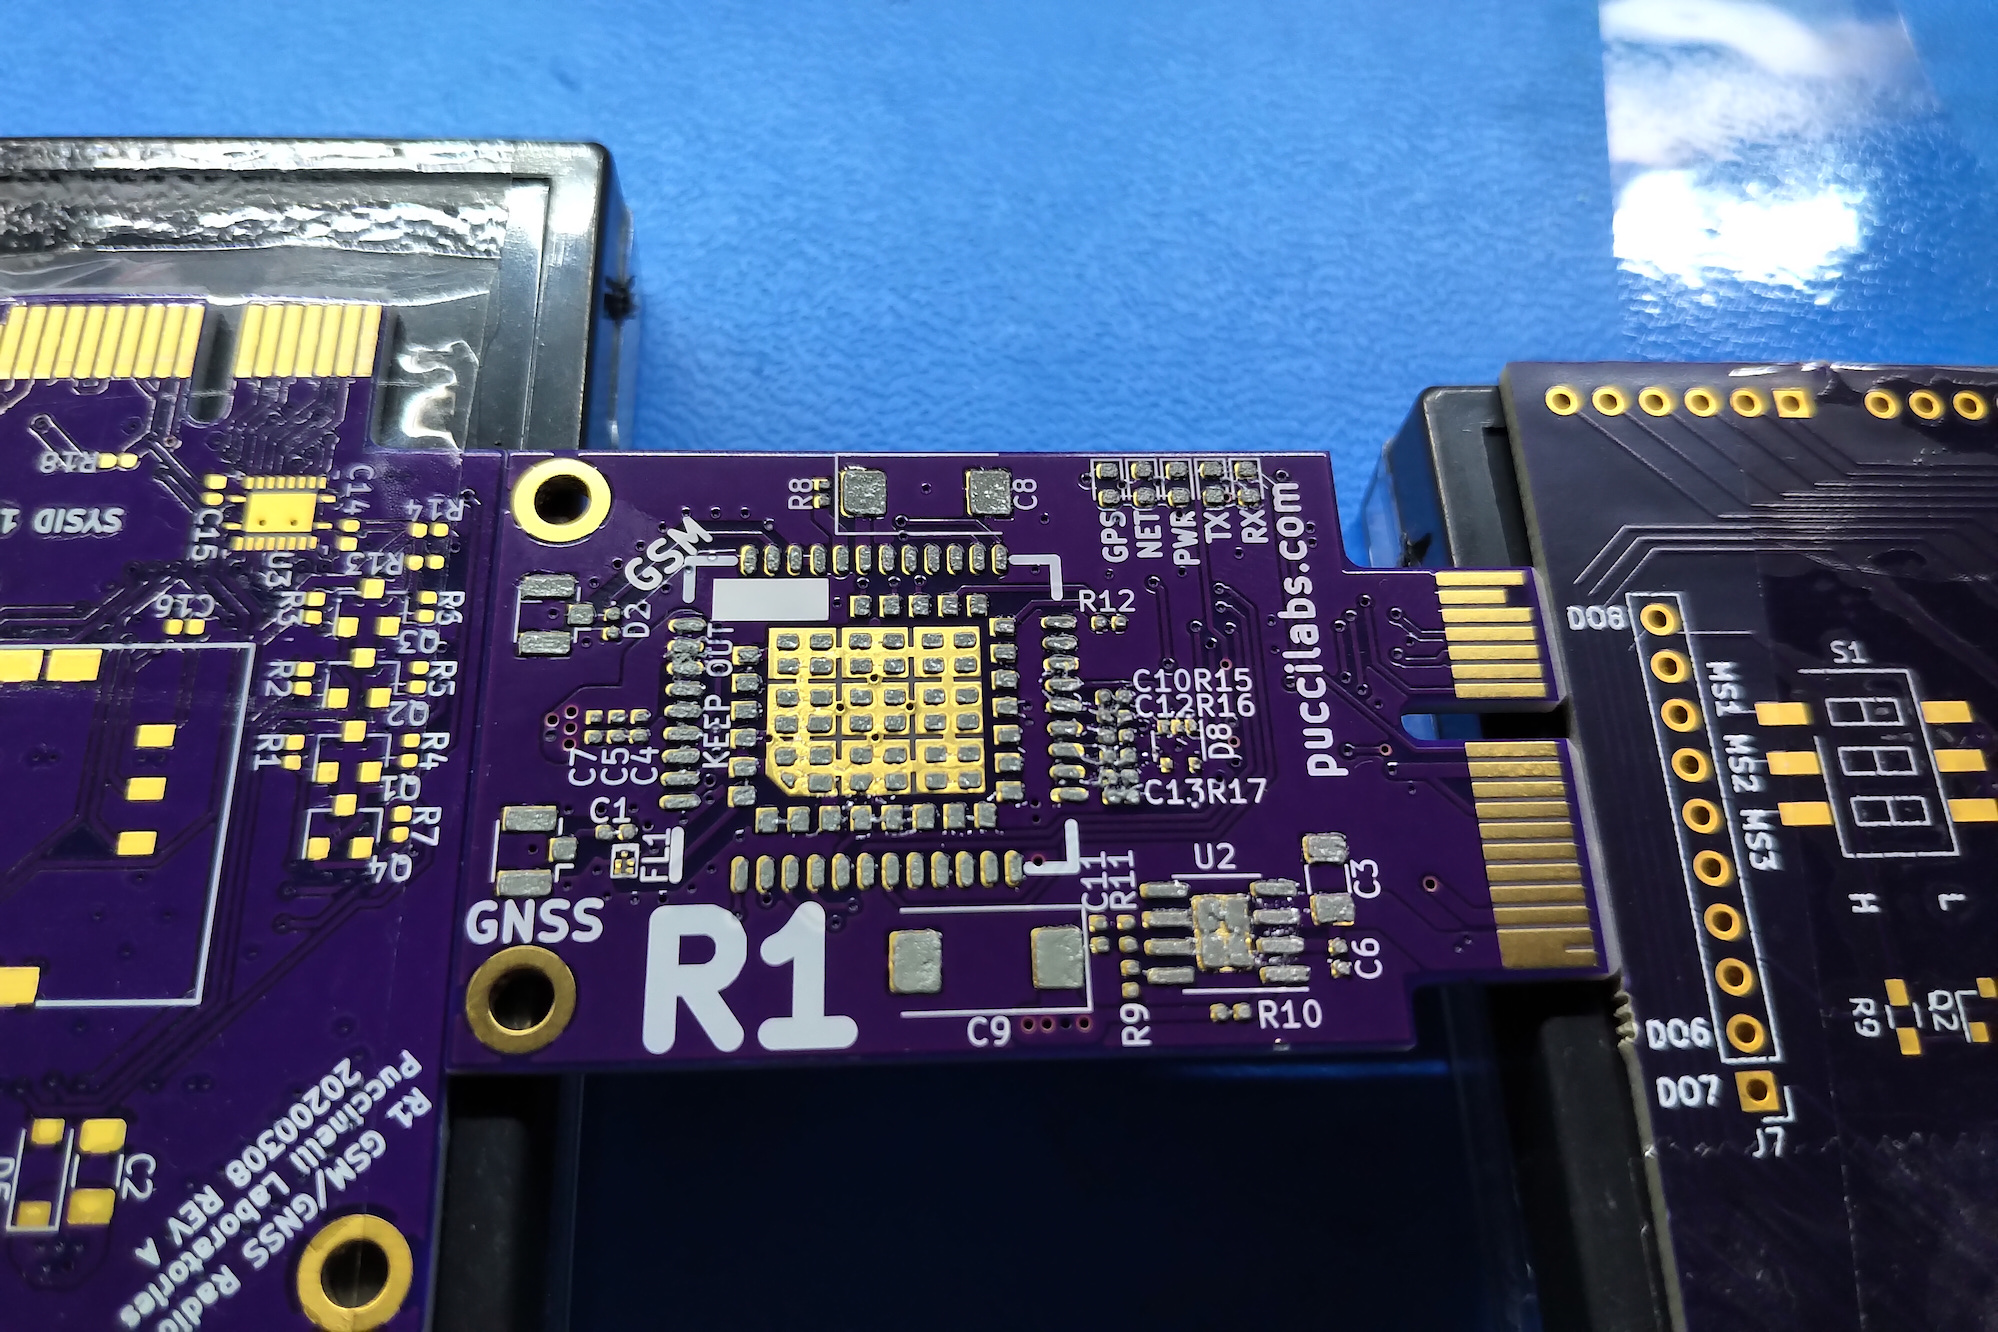
 PCB Populated with Components Prior to Reflow.
- Using ESD safe tweezers, populate the board with your components. Do your best to center the parts over the pads, particularly ICs. It doesn’t need to be perfect though since the part will most likely recenter itself when the paste liquifies in the oven.
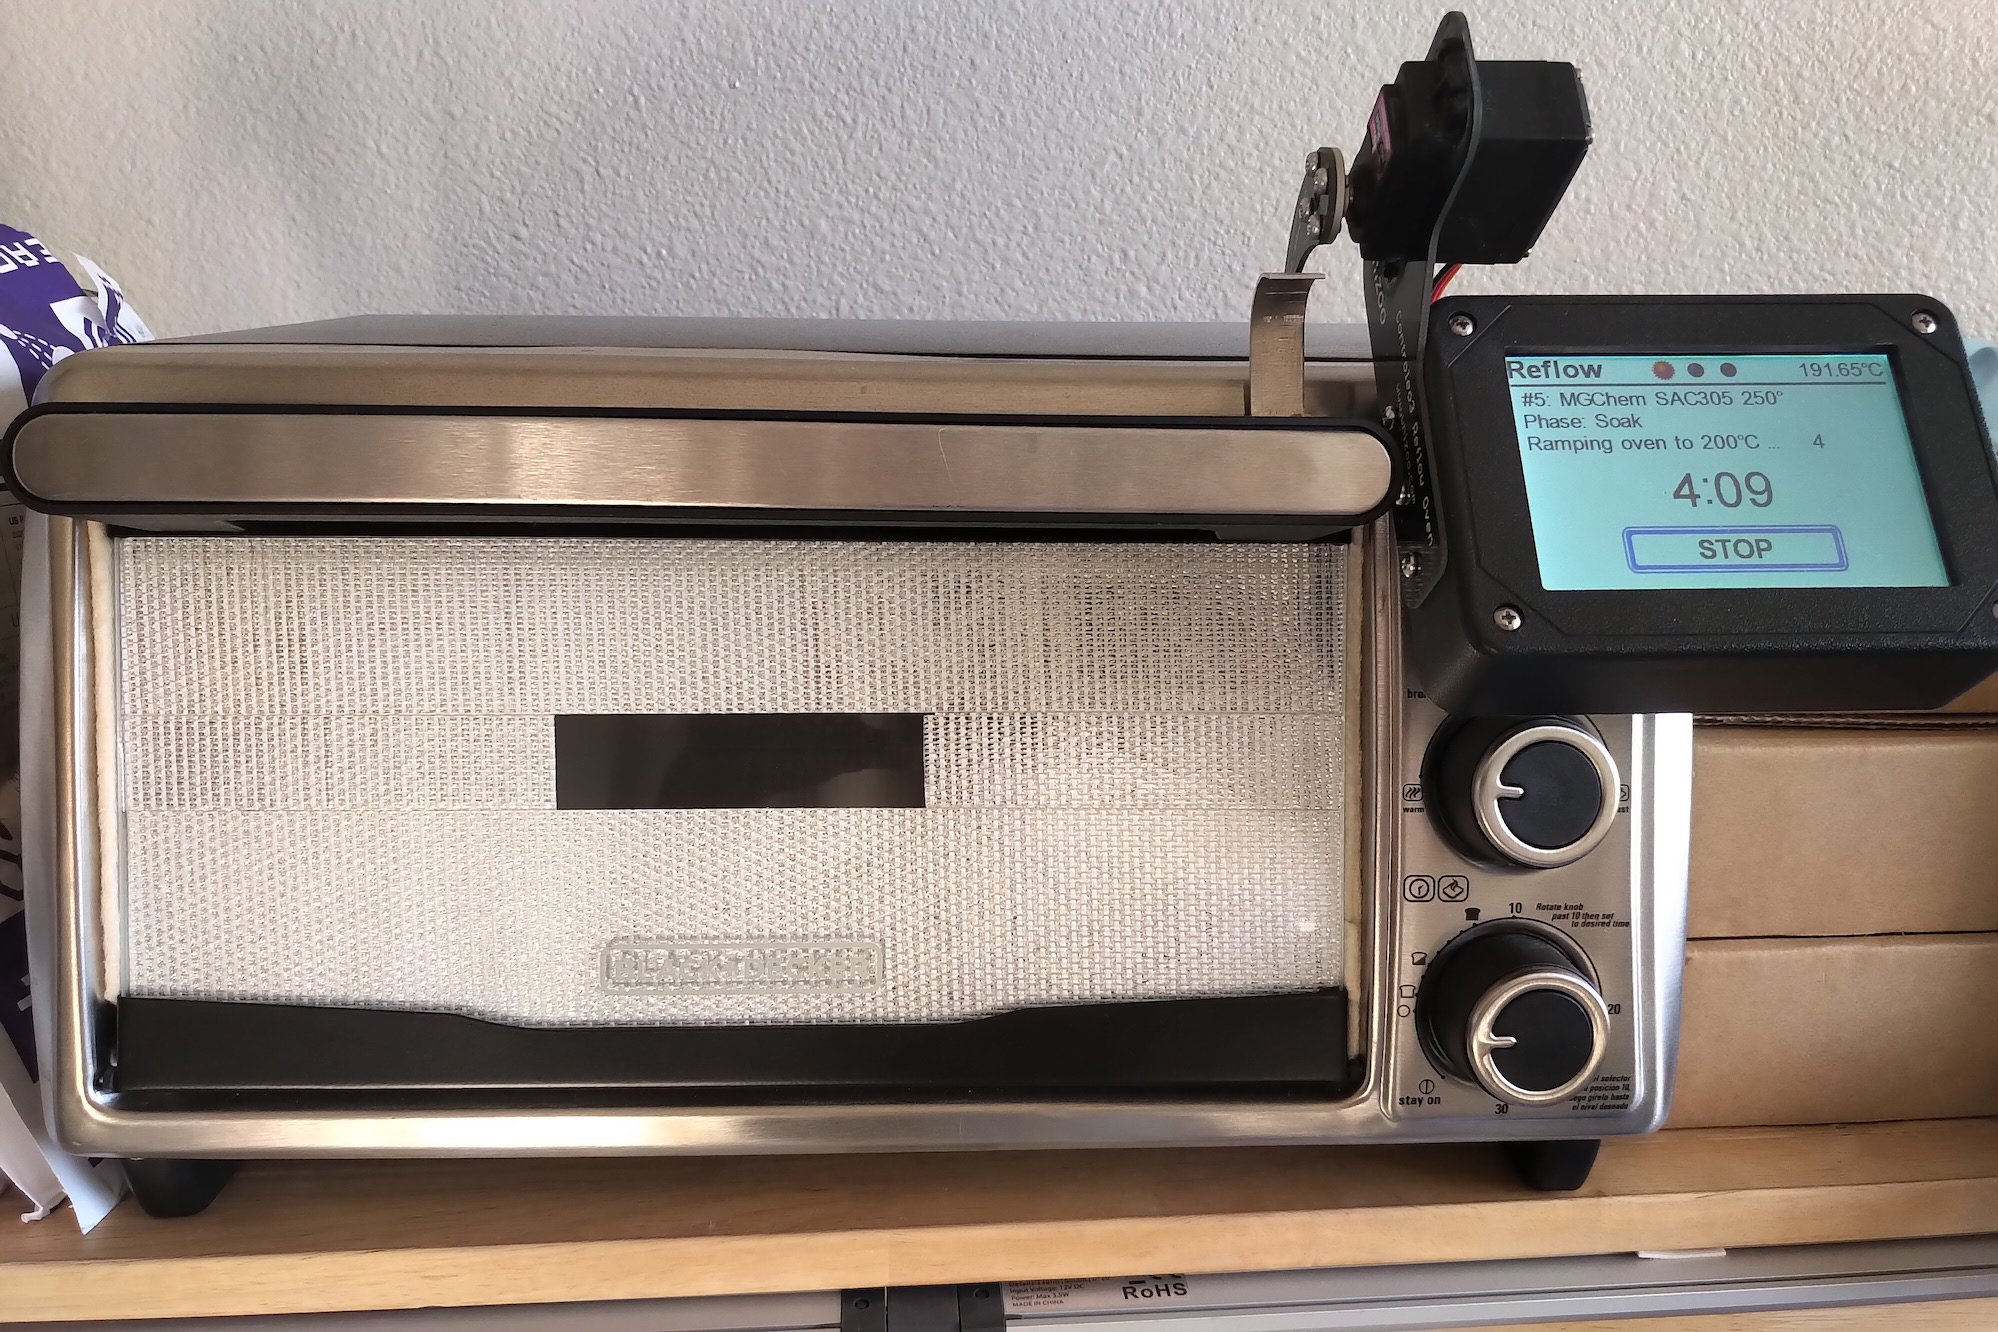 Toaster Oven Turned Reflow Oven with Whizoo Build Kit.
- Configure your reflow oven to match the reflow profile of your paste. Place the populated PCB in the oven and reflow! If I am reflowing the 2nd side of my PCB, I’ll lift it with some small heatsinks that I have so that it is flat and the components on the bottom are not in contact with anything else.
Finished PCB.
- Repeat prior steps for other side of PCB, if needed.
There you go! You are now able to reliably fabricate PCBs that use surface mount components. This opens up an opportunity to create more advance circuits such as those using radio and microcontroller ICs.
Leave a Comment
Comments are moderated. Email won't be published. All fields are required. *